How To Print Label On A Regular Printer?
“STOP”.
“On Sale”.
“Free”!
Whenever we come across such labels, it makes us stop in our tracks and give them a second glance. In superstores, products with brightly-coloured labels generally have a better chance of selling themselves without any sort of promotion!
Labels are awesome little things that make our lives easier. Granted.
But is it worth getting a label maker just for that? Unless you need labels in high volume, we certainly don’t want to recommend that!
Instead, you can use your PC to do that job if you know how to print labels on a regular printer. Be it holiday tags, shipping labels or instruction stickers, you can print all sorts of labels from the printer that’s sitting on your table right there!
Without any further ado, let’s give you a glimpse of what you have been missing out on!
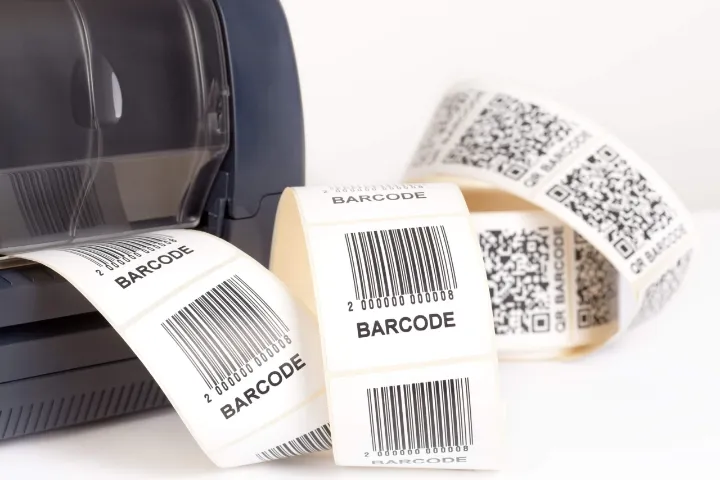
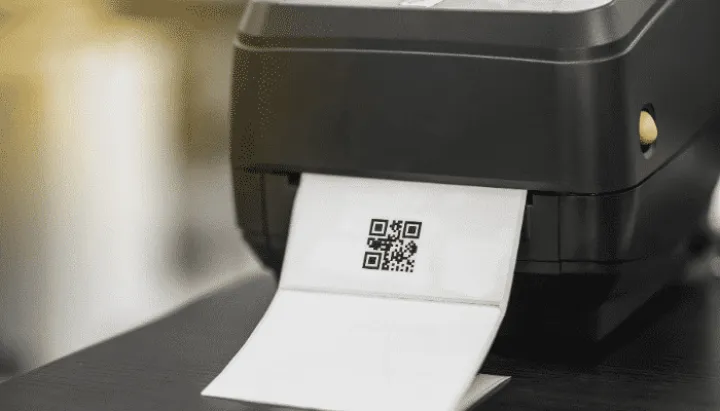
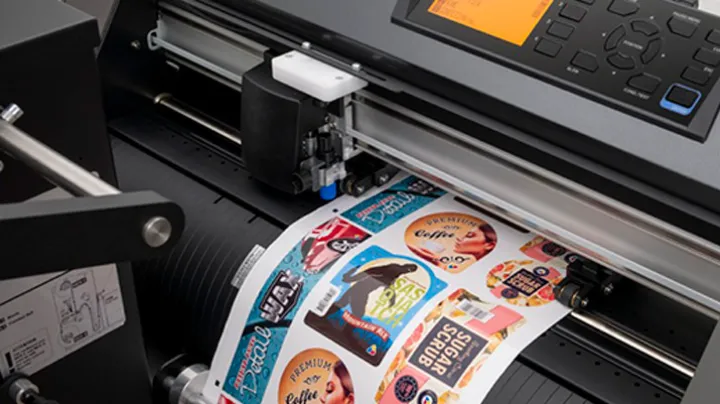
What Kind Of Printers Are Capable Of Printing Labels?
From the name of our topic, you must have already guessed that you can print labels from any regular printer!
The real concern is what result you will get from each type of printer that’s available on the market right now.
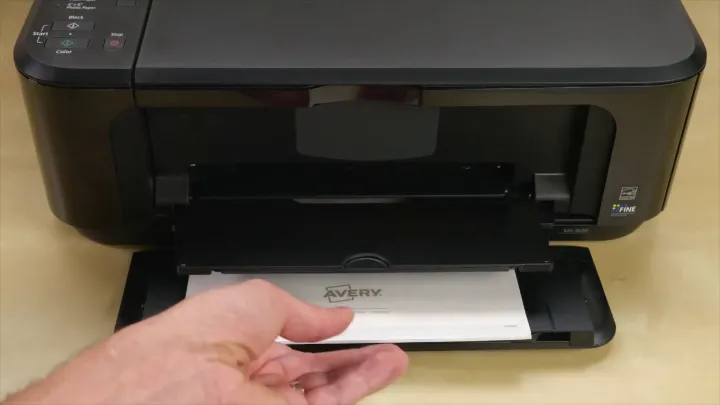
An Inkjet printer, for instance, is an inexpensive purchase and does a decent job of printing labels. However, the print speed of this printer is a little bit slow, and the media tray capacity isn’t sufficient enough to operate as fast as you would want.
If you have a Laser printer at home, which is more expensive than an inkjet one, you are going to have a better experience as it has a faster printing speed. You will be able to print more labels on this device. However, the toner of this printer is more expensive and requires laser-compatible print media to operate smoothly.
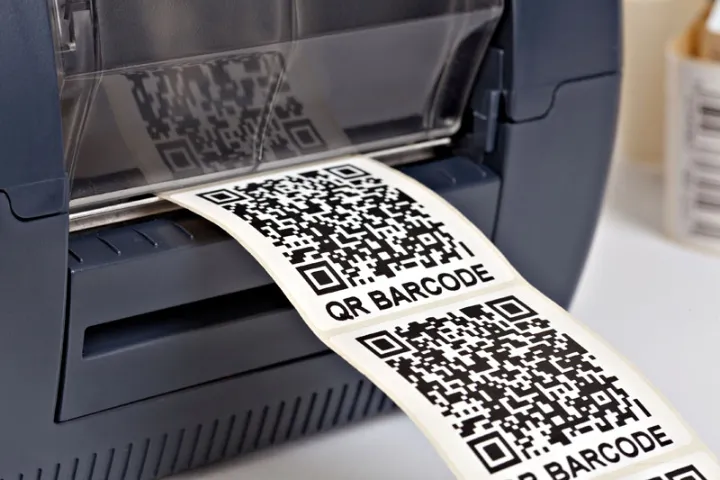
Thermal printer costs the most and does an excellent job of printing labels among all these three printers. The printing speed is pretty fast and gives you an overall optimum experience. In addition, this printer doesn’t even require any ink or toner to operate.
Things To Consider Before Printing Label
There are some things that you need to take into account before starting your label printing process.
Let’s go through the factors one-by-one:
Paper
You can print labels on regular paper if you want. However, for a more professional outlook, we recommend using self-adhesive papers that peel off from the back and can be stuck anywhere you want.
Printable Area
Before you start printing tags, you need to understand how much of the space is eligible for doing your job properly.
There are 3 sections of a printable area: Safety Area, Trim and Bleed.
The safety area is a section that will get printed for sure. This area should be reserved for the logos, slogan, background and all the main details that are important to you.
The Trim section refers to the physical border of the tag. This border will give you an idea of where your design will be cut off approximately.
Bleed is basically the extra space that contains images and other contents to ensure there is no blank space left around your main label. This section shouldn’t contain any important info, logo or colour that’s mandatory to be inside the label.
Label Layout
Do you want your tag to have a full-page design?
Or are your labels going to have a full-colour background?
Have you decided on what size of paper to use?
You should also select if your label printouts have any space between them as well!
All these matters fall under the category of label layouts, which you need to consider before printing. Once you choose all the settings and preferences, you should also look for a nice template that makes everything come together nicely.
Label Compatibility
While purchasing label papers for printing, you need to make sure that the papers are compatible to work with your regular or wireless printer first.
Laser printers use heat and pressure to operate their work. Therefore, you need papers that are laser-compatible and heat-resistant.
Inkjet printers, on the other hand, work by distributing ink onto a surface where the ink dries in place to form a particular image/design. So, if you want to print from an inkjet printer, the labels should have a porous surface that can absorb the ink quickly.
How To Print Label On A Regular Printer?
To print labels on a regular printer, you will have to set up your printer and take the necessary actions from your computer to finish the process. In this article, we will discuss everything in detail, so follow carefully!
Print Settings
Type/Weight
Depending on what type of printer you are using, there’s a specific type or weight of the media that works the best for your model.
For instance, some printers already have “Labels” settings, which give you the best possible print quality. For other models, you need to use the “Heavy Paper” settings to get your desired result.
Page Size
The page size of the printer should be set to A4. Usually, the default is set to American Letter. So, you need to make sure the printer’s setting is altered before printing the labels.
Scaling
While printing label templates, you can never use the “Scaling” ever!
Scaling is basically the process of shrinking/stretching the images to fit them into a certain area. It’s usually shown as a “Fit To” option or as a percentage. As this option will distort your label template, you need to choose “Actual Size” instead.
Driver Settings
As some printers have “Ignore Printer Settings/Use Driver Settings”, make sure these options are NOT selected while you are printing your labels. Failure to do so will end up compelling the printer to ignore all of your carefully chosen settings.
Computer Settings
Depending on what application you are using from your computer to set up your printer for printing labels, you need to follow the below instructions:
Printer Related: Also Know About Photo Printer For iPhone
How to Print Labels In Word?
- Open Microsoft Word and go to “Mailings”.
- Find the “Labels” option and click on it.
- Click on “Options”, choose your desired “Label Vendor”, and select “OK”. You can also set up a custom label using the “New Label” option.
- Next comes an address box where you can write the address and include some other information if you want. If you choose to add an address from the contact list, select the “Insert Address” option for that.
- To modify the formatting of the text, select all the contents and modify the style of the font or paragraph if you want. Then, select “OK”.
- Click on “Full Page Of The Same Label” and hit “Print”.
- For the best result, we recommend printing the whole thing on a sheet of paper first as a trial before trying it out on actual label paper.
How Can I Print Labels From Excel?
- In order to make mailing labels from excel sheets, you need to add proper column headings for each element. Each item should be in the correct column, and there should be no blank space on the list. Click “Save” when you are finished.
- Open up the word document and click on the “Mailings” tab.
- Select “Start Mail Merge” and then “Labels”.
- Select your desired brand name in the “Label Vendors” box, choose the product number and click “OK”.
- To connect Word to Excel, click on “File” in word and select “Options”.
- Tap on “Advanced” and then scroll to the “General” section.
- Check the box “Confirm file format conversion on open” and select “OK”.
- Go to “Mailings”, click “Start Mail Merge”, and choose the “Select Recipients” option.
- Click on “Use An Existing List”, scroll to the worksheet that contains your list from the “Select Data Source” box, and then click on “Open”.
- Once you have confirmed the list, you are going to use, click “OK”. Find the table that contains the list and click “OK” again.
- Once the data are all organized, it’s time to complete the process! Select the first label on the page and then go to the “Mailings” tab to find the “Write and Insert Fields” part from where you need to choose the “Address Block”.
- Select “Match Fields” and click “OK”.
- Click “OK” for the second time to save the dialogue box.
- Find the “Update Labels” option under the “Write and Insert Fields” in the “Mailings” tab.
- Now both word and excel are connected. Click the “Mailings” tab again, and select “Finish And Merge” from the “Finish” section.
- To have a preview of how the whole thing is going to look like, select “Edit Individual Document” and choose “OK” for “All”.
- Now you can print/edit this document just like you would in a word file.
How to Print Labels From Google Sheets?
- To print labels from google sheets, first, you need to download the “Create And Print Labels” add-on from the G Suite Marketplace.
- Click “Install” and select the “Continue” button.
- Follow the instruction to complete the process and select a Google account from the given list.
- To finish the installation process, click “Allow”.
- Now launch the “Create And Print Labels” and select “Create Labels” from “Create And Print Labels” that’s under the “Add-ons” header.
- Select “Label Template” and pick up your desired template from the option. If you are unsure, you can use the “Most Popular Templates” to give you suggestions.
- Select the template you want to apply and click “Use”.
- From the “Mailing List” option, pick up the spreadsheet you want to use for printing labels.
- By this point, you will see space under the header “Content”, in which you can format the label layout. You can also add a zip code to the content by clicking “Add A Merge File” and choosing “Zip Code” from the option.
- Once everything is done to your preference, click “Create Labels” and finish the process.
- By clicking “Open Document”, you can view the newly created label document in Google Docs. To print this label document, click “File”, then “Print”.
Tips And Tricks For While Printing Labels From a Printer
- Depending on what type of model you are using, your printer may have a media bypass tray. This tray is specifically designed to handle thick materials, including label paper. To improve the accuracy of your printing, use this bypass tray if possible.
- If your labels are getting jammed while printing, chances are the sheets are being fed in the wrong way to the machine. In this case, you need to check if the device is set to handle label types of paper at an appropriate speed.
- In case you see the prints getting smeared on the paper, then know that you are using the wrong type of paper! Not all papers are compatible with laser printers, and if you feed the machine the wrong kind, the ink is going to come out all smeared on the surface.
- Not all printers are capable of printing to the edge of the paper. If you want to get such a template, check to see if your printer has the “Full Bleed” option.
- To make your labels seem more attractive, make sure the font colour of the text stands out and doesn’t blend into the background too much. The font size should also be in such a way that it’s easy on the eyes of the readers.
Final Words
From health hazards to ingredient lists to shipping addresses, there are different sorts of labels that we see every day. Without these little tags, things might have gone lost, or it would be more difficult to organize things!
Now that you know how to print labels on a regular printer, hopefully, you will be able to save your money on a label maker and use that investment for something else!
Before we part ways, we have one piece of last advice for you. Once you set up a label template on your PC, save that in a separate folder for future use so that you can use it again and save your effort down the road!