Cardstock and fabric are two popular materials for printing. Each has its own benefits and drawbacks, so it’s important to choose the right material for your project. In this article, we’ll show you how to print on both cardstock and fabric, so you can make the best decision for your next project.
How To Print On Cardstock
Choose Cardstock for Printing
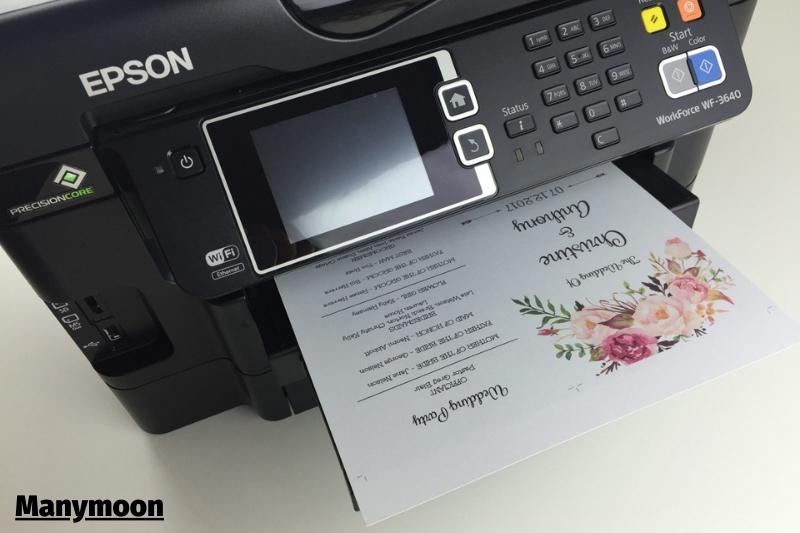
When choosing cardstock for your printing job, there are two important factors to consider: thickness and coatings. These factors don’t matter as much if you are printing professionally. Commercial printers can handle many materials. However, if you are printing at home, the wrong stock can ruin your project or cause damage to your printer.
Cardstock thickness can often be expressed in terms of weight. You’ll see cardstock packages weighing 65, 80, and 100 lbs, depending on which option you choose. You might see cardstock classified by points, which can range from 10 to 16. The stock will be thicker if the number is higher than the stock. Home printers can handle 80-pound, 10-point cardstock. Any thicker, and the paper could jam.
Many types of cardstock can be coated with coatings to give it a shiny, polished look. Think of business cards printed on shiny cardstock. Because the ink doesn’t absorb into the paper as well as uncoated stock, coated cardstock can be more difficult to print. If your printer doesn’t have the ability to print photos, coated cardstock may not be able to work. Instead, choose an uncoated stock to stay safe.
How to Prepare Your Printer
It’s possible for your printer to work fine if you replace your regular paper with cardstock. It is advisable to adjust your printer settings before printing with another type of material.
There is no single way to prepare your printer this way. Every model is unique. Some printers can handle heavy paper, while others can accommodate cardstock. Others are sensitive enough that you can program the printer for the weight of the paper you use. You may need to move the paper tray to another position. The online guide for your printer should give you specific instructions.
You should use the same ink that you have in your printer for your cardstock project. This is not a reason to buy new ink.
Tips for printing on cardstock
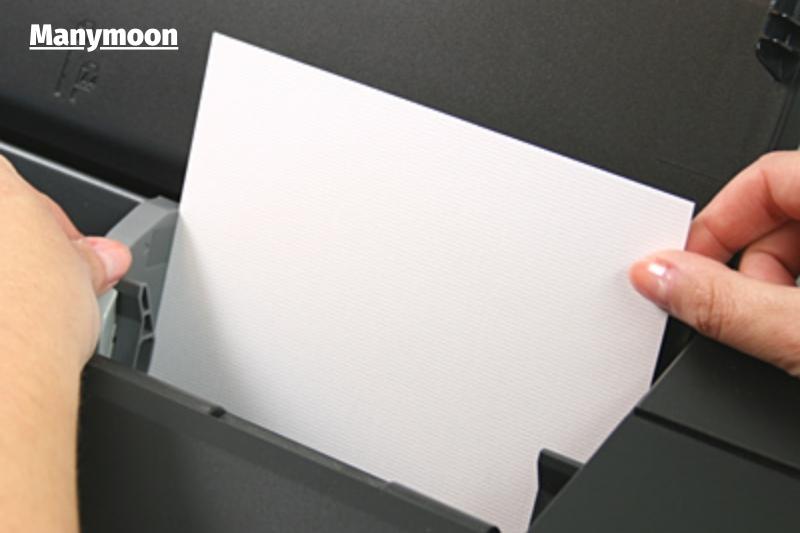
Do you plan to print 20 invitations at once? You shouldn’t print 20 invitations at once. Thick cardstock can jam easily, so don’t load 20 sheets into one tray. It is better to only feed one sheet of paper at a time. This allows you to inspect every piece of cardstock before it is sent to the printer. This is important as a jam could be caused by a bent corner or curled edge.
If your printer is not compatible with cardstock and you are dreading trying it out, it might be worth hiring a professional to handle your printing job. Many office supply stores have in-house printing services that can print your project on any cardstock you choose. The price may be comparable to purchasing your own paper or ink.
How to print on thick papers/cardstock
- Select File > Print from the menu bar.
- Select Properties to open the printer’s driver settings before you send your document to print.
- You will find the Paper Settings tab. This tab allows you to choose from a variety of media that your printer can print.
- Select your Paper Type. (Cardstock, Glossy Cardstock etc.)
- You must also ensure that all settings, including paper size and quality, are correct.
- Click OK > Print
Is Your Document Size The Same As Your Paper Size?

It is crucial that the document size corresponds to the size of the invitation cardstock paper. Otherwise, the paper won’t print properly.
If you print on a five 1/2×8 1/2 inch invitation card, the document settings should be adjusted to fit that size.
How to Set Your Document Size
Here is an example of how you can set the size of your Microsoft Word document or paper. If you use a different page layout or word processing program, the instructions will be slightly different.
- Step 1: Determine the size of the paper you are printing
Use a ruler to determine the paper size.
- Step 2: Verify that the Document Settings correspond to the exact size of the invitation paper
Word’s Page Setup area displays the document size. You can also input custom dimensions to match the paper size.
Instructions for the PC
- Click on File > Page Setup
- Click Paper tab
- Enter Width & Height in Inches under Paper Size
Instructions for Mac
- Click on File > Page Setup
- To the right, click on Paper Size.
- Click it if your paper size is displayed
- Click Manage Custom Sizes if your paper size is not displayed
- Enter the Width & Height measurements in inches into the area for Paper Size
Are You Sure You Have Added Your Custom Paper Size to Your Print Driver?
If you are not printing on 8 1/2×11 paper, please let your printer know.
Printing custom sizes can be difficult because it is not always obvious to tell the printer what size of paper you want. This leads to incorrect printing.
Your printer will assume that 8 1/2 x 11 paper is in the tray. To print non-standard sizes of paper correctly, you must communicate with your printer. This communication takes place in your print driver, which you can access just before printing the document.
How to Enter Custom Dimensions In the Driver
It is not enough to choose one of the preset paper sizes from the printer driver. The paper size that you are printing is often not displayed among the standard paper sizes. If custom paper dimensions* have been entered, printing will not work.
*In some rare cases, it may not be possible to enter a custom-sized size. This is due to the limitations of the printer driver. Consult your printer’s manufacturer in this instance.
Instructions for the PC
Get the print driver
- Click File > Print > Properties
You can set your own dimensions
- You can find paper size, page size or something similar.
- Click Custom Size or User Defined Size
- You can enter custom paper sizes width and height
Instructions for Mac
Get the print driver
- Click File > Print > Page Setting
Set Custom Dimensions
- Click Paper Size dropdown
- Click “Manage Custom Sizes“
- To increase the size, click “+”.
- You can enter custom paper sizes width and height
How To Print On Fabric

These are the four printing methods discussed:
- Freezer paper printing
- Printable fabric sheets
- Transfer paper iron
- Image Transfer Fluid
1. Freezer Paper Fabric Printing
You will need plastic-coated freezer paper to print on fabric at home. This method is suitable for delicate fabrics like linen or old bedsheets.
1. First, choose the fabric you want to use. It is also a good idea to use lighter colors, such as cream or white.
Place the fabric that you wish to print on top of freezer paper. The plastic-coated side should be in direct contact with the fabric. Use a hot iron to iron the fabric until it adheres to the paper.
2. Next, use a rotary cutter to cut the freezer paper-backed fabric until it is A4 size.
3. Next, feed the paper into your inkjet printer paper feeder. You must ensure that the image will print on the fabric side and not on the freezer side.
4. You can print as usual from your computer, but you should make sure to go into the printer’s advanced menu settings and select the highest quality print option.
5. Simply pull the backing of freezer paper off the fabric once the image has been printed.
The pros and cons of freezer paper fabric printing
PROS
- Print on recycled fabrics like old sheets
- The fabric is left untreated so that it retains its natural texture.
- Freezer paper is cheap as all you need is to purchase it
CONS
- Fabric must be thin enough for the printer to print.
- You can only print as large as your printer, so you will need to choose between A4 and A3 if you have a large printer.
- Only light-colored fabrics work well.
2. Printable Fabric Sheets
This is the easiest way to print on fabric at home. It works in the same way as freezer paper. The printable fabric sheets are pre-prepared for your computer so that you don’t have to do any extra work.
The Pros and Cons of Fabric Printer Paper
PROS
- It’s as easy as it gets, with no preparation.
- The fabric is left untreated so that it retains its natural texture.
- The sticky back version is available
CONS
- There is only one type of fabric you can choose from
- Only A4 can be printed
- It is more expensive than making your own fabric
3. How to Print on Fabric at Home With Iron-on Transfer paper
This is essentially the same as the next printing fabric method. This means that images are transferred to the fabric using a medium.
1. There are two types of iron-on transfer paper. One is for lighter fabrics, and the other is for darker fabrics. Depending on the color of your fabric, you can choose which paper to use.
2. Place the paper into the printer’s paper feeder. For printing, ensure that the paper is placed on the right side. This will be printed on paper.
3. Select the best quality print from the advanced printer menu. You will also need to choose the mirror print option in the menu settings. This will create a mirror image.
4. Then, trim the image to the desired edge. Next, heat the iron to the highest setting and turn off the steam.
5. Place the image face-down onto the fabric, and then press the iron down. The instructions included with iron-on transfer sheets will determine how long you need to iron. It takes about 20 seconds for each section.
6. Allow the paper to cool down for approximately one minute before removing the backing.
The pros and cons of ironing on transfer paper
PROS
- You can print on a wider range of fabrics. Even transfer paper can be used to print on leather.
- Vibrant colors
- Can print on dark materials
CONS
- Iron-on-paper can be costly.
- The fabric is coated with a film by the print. This alters the fabric’s feel and stiffens it.
4. How to Print on Fabric at Home with Image Transfer Medium
You can transfer images using a variety of mediums. Dylon Image Maker is what I used, but Mod Podge Photo Transfer works just as well.
1. You will need a mirror copy of the image you wish to transfer in this transfer method. Follow the instructions on the packet.
2. All transfer media work in a similar way. First, cut the mirror image that you wish to print onto fabric.
3. Next, place the image face-up on a surface that is protected from any liquids (the medium might leak). Use an image medium to brush the face of your image. To make the image opaque, you will need a thick layer.
4. Next, place the image face-down on the fabric.
5. Next, use a rolling pin or a roller to roll the paper. This will remove any bubbles and creases. Next, let the image dry for at most 4 hours.
6. After the medium has dried completely, soak the paper in water for approximately 2 minutes. Next, gently rub the paper. Now, transfer the image to the fabric.
There are pros and cons to using a transfer medium to print on fabric at home
PROS
- You can print on many fabrics, from cotton to leather. I have even used the paste for wood printing.
- Print on dark materials
CONS
- It takes longer than other methods. You must allow drying time.
- Apply a film to the fabric that stiffens and alters its feel.
- The image is less vibrant than other methods.
FAQs

1. How do I laser print on a card with no smearing?
Your printer will do the job if you change the paper type to heavy gauge paper such as cardstock, heavy paper or thick paper. You can change the paper type to make your laser printer work slower. This will allow the material to be exposed to more light than the toner, and it will take longer to feed through the printer. This will allow the toner to fuse more effectively to the card or heavy papers, and it will prevent it from smearing.
2. How can you copy on a card?
Cardstock can be copied exactly as you would on paper. Keep the preference the same as for paper, and the printer will take care of the rest.
Is it possible to print on cardstock using an inkjet printer
You can print on cardstock using an inkjet printer. This can also help you achieve great results. Many inkjet printers are capable of printing on thick cards and can also print graphics and photos at photo lab quality.
4. What printer can print on fabric?
Inkjet Printers
While you can print photos and images with any inkjet printer, I recommend Epson printers to print onto fabric. For small fabric prints of up to 8-1/2 inches wide, I use a basic XP440 printer and a professional P400 photo printer to print large prints up to 13 inches wide.
5. Can Cricut print fabric?
Once you have completed your project design, load the Cricut Printable Fabric to your inkjet printer. Double-check that the printable fabric is loaded correctly. To print your design, follow the instructions in Cricut Design Space.
Conclusion
Manymoon hopes this information on how to print on cardstock and cloth will be useful to you. If you enjoyed this article, please share it with your friends and family on social media platforms such as Facebook, Whatsapp, Hike, BBM, Wechat, Instagram, Line, Viber, Pinterest, StumbleUpon, Twitter, and others.
If your business can’t keep up with the printing requirements, or you’re too busy to manage it yourself and need help from a professional printer that has experience in large-scale projects like yours, then contact the printing company.
Stay in touch with us for more helpful hints. Thank you for taking the time to read what we’ve written.
